Diaspark Back Office
Special Order
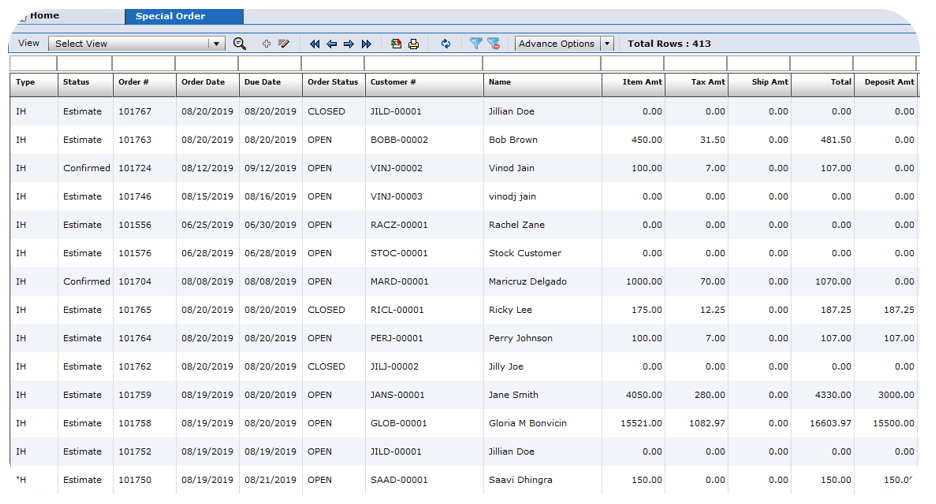
- To view all special orders, click on POS (Orders) → Special → Special Order. On this screen, all currently existing special orders will appear. By using any of the several search features, you can filter out an order.
-
You can double click any order to view the item(s) details and history.
-
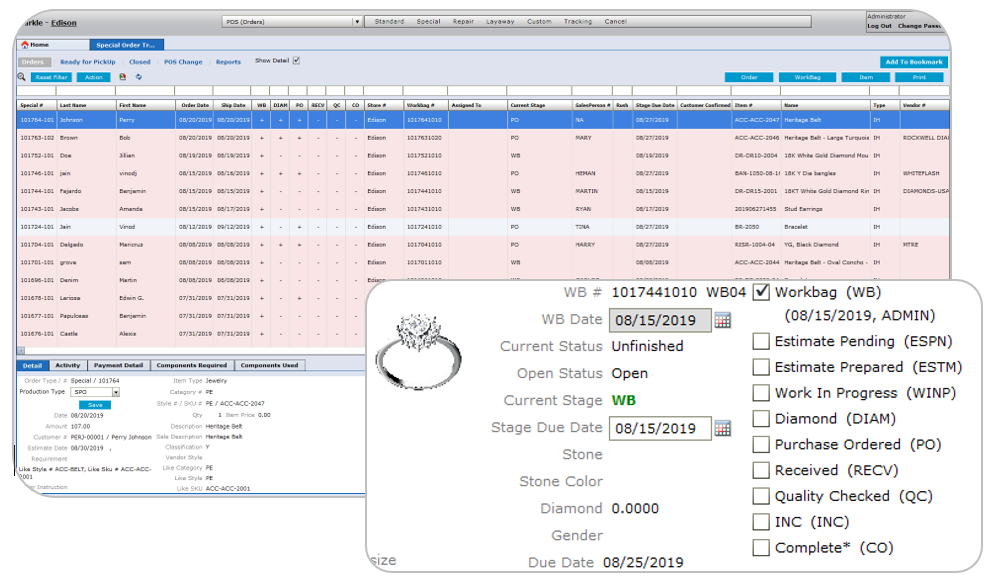
To track all special orders, click on POS (Orders) → Special → Special Order Tracking. On this screen, all open special orders will appear. By using any of the several search features, you can filter out an order.
-
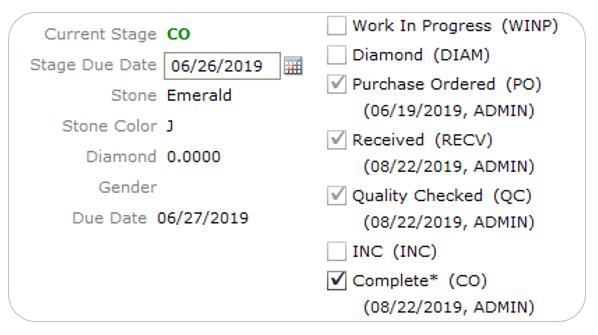
On the bottom right-hand side of the screen, you will see checkboxes designated for each stage of the repair process. As each stage is complete, check the box and refresh.
-
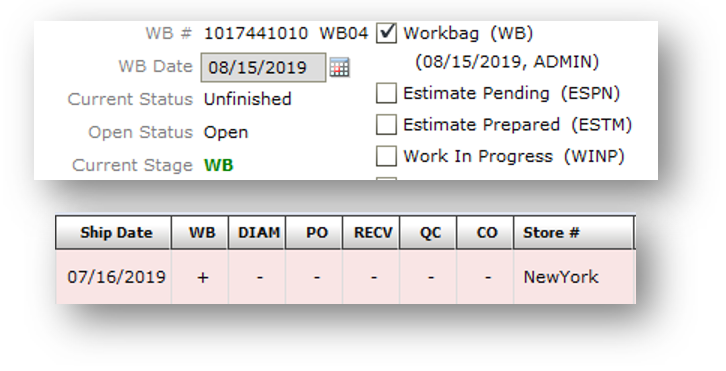
Once you do, the plus sign will appear under the stage that the item is currently in.
-
On the bottom left-hand side of the screen, you can see details about the highlighted order. You can also see its activity, payment detail, components required, and components used.
-
When a stage is check marked, its details will appear under the activity tab on the bottom left-hand side of the screen.

-
Each stage can be configured in back office, through Production → Setup → Workbag Stage.
-
To create a vendor purchase order, click the Action button.
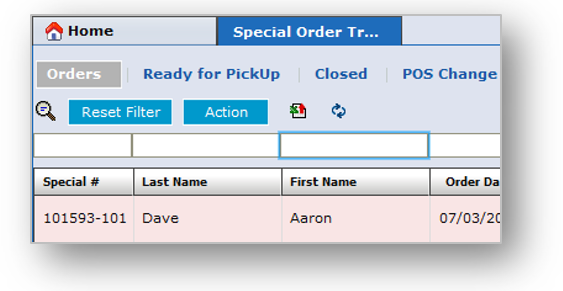
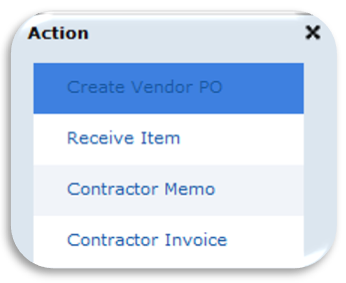
- Then, click Create Vendor PO.
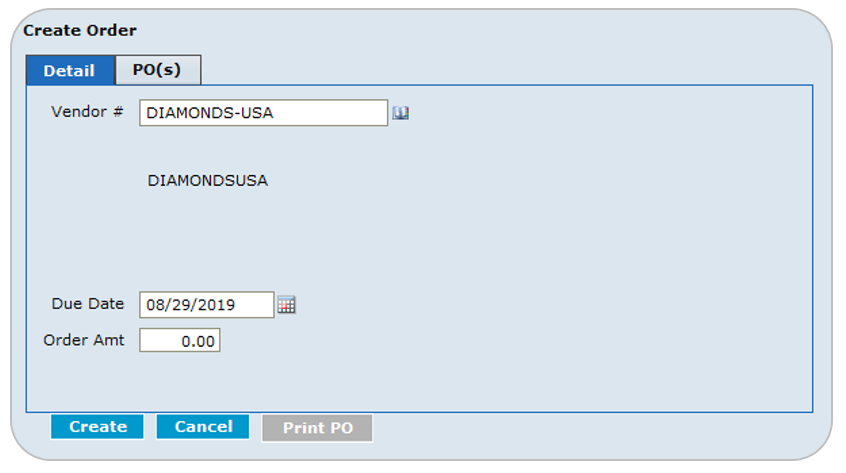
- Enter the vendor, order amount, and due date. Then, click create.
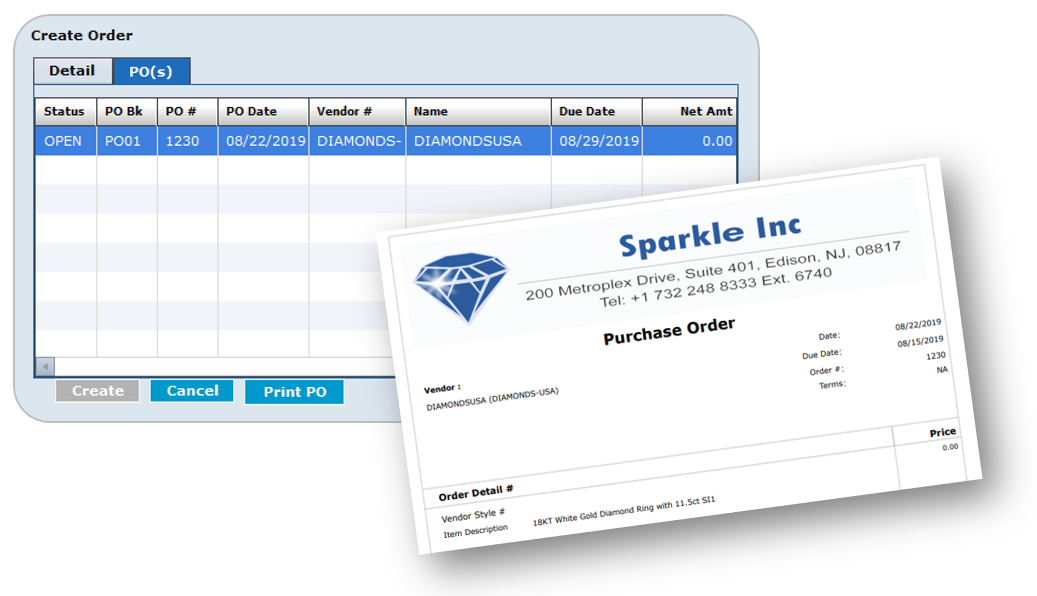
- Once it is created, select the PO and click Print PO at the bottom of the screen.
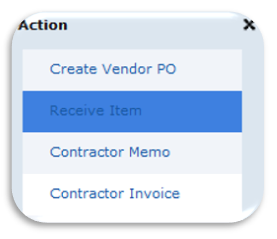
- To receive the item(s), select the order on the screen and then click the Action button. Next, click Receive Item.
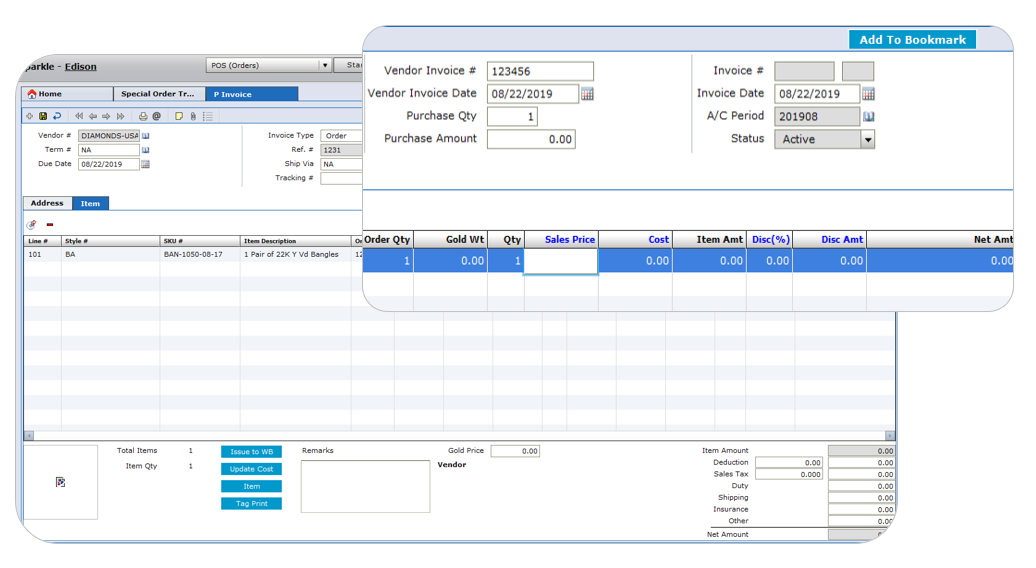
- You will then be directed to the Purchase Invoice screen. Enter the Vendor invoice #, Vendor invoice date, and make any price adjustments. Then, save.
-
To complete an order, check the checkbox next to Complete* (CO) on the bottom right-hand side of the screen, and then press the refresh icon.
-
Note that the Complete checkbox may be unchecked if the item needs to go back into any stage if it is not up to par.
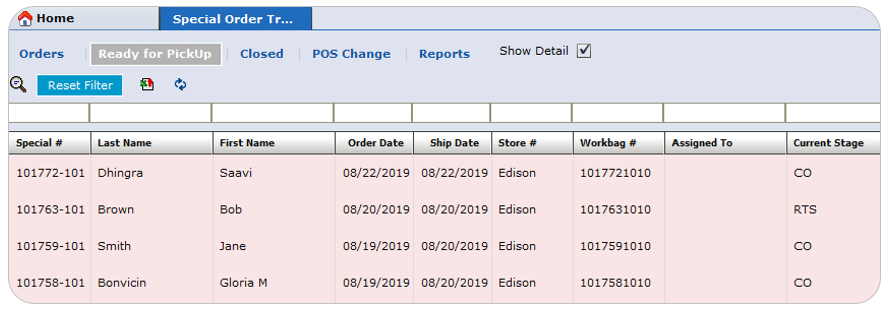
- The order will then appear under the Ready for pickup tab. All orders that appear under the Closed tab have already been picked up.
